Zoom Recordings in MediaSpace
MediaSpace is a cloud-based content management system for creating and sharing video developed by Kaltura. If you are a faculty member or student, you may already be familiar with Kaltura's media tools in UNM Canvas. MediaSpace offers a way to manage video, including Zoom cloud recordings, for non-academic use cases. Zoom cloud recordings at UNM have been copied over to your My Media repository since August 1, 2020.
Getting Started
What is My Media?
How to Log In to MediaSpace and Access My Media
How to Download a Cloud Recording from Zoom for Later Upload
How to Upload to My Media from MediaSpace
How to Adjust Publishing Status on Existing Zoom Recordings
How to Link or Embed Zoom Recordings on Another Site
How to Download from MediaSpace
How to Edit Captions on a Recording
How to Manage Collaborators
What is My Media?
My Media is the media repository for a single user. Every user has a personal, searchable repository for viewing and managing private video content. Media items in My Media may be published into courses, embeded as content on a webpage, or directly shared as a link. My Media is consistent across all Kaltura environments such as the media tools in UNM Canvas and UNM MediaSpace. Use My Media to:
- View media
- Manage Collaborators
- Edit metadata or delete the media
- Select a thumbnail
- Share and embed Media
How to Log In to MediaSpace and Access My Media
Note: If your Zoom cloud recording was created as part of an academic class, you should already be accessing your recordings through My Media in UNM Canvas where it can be securely shared to a course. For more information on accessing My Media in UNM Canvas, please refer to How to Use the Media Tools in Canvas.
1. In a browser, navigate to https://mediaspace.unm.edu/.
2. In the top right, click the User Menu > Login.
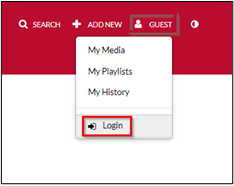
If you are already signed in another UNM service (Lobomail, UNM Canvas, Zoom, ect...), you will automatically sign in without additional steps.
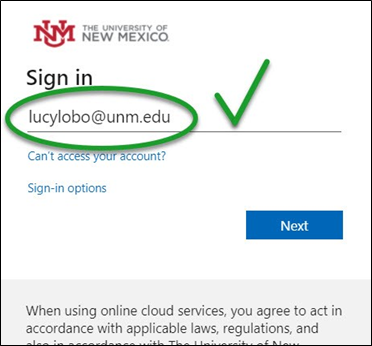
3. If you are redirected to the UNM Login page, enter your full UNM email address (e.g., <your UNM NetID>@unm.edu). Do not just put your NetID. You must add the @unm.edu to the end.
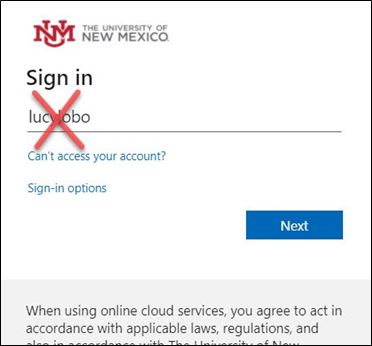
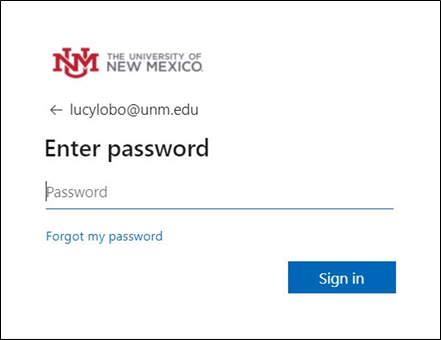
4. Enter your password and click Sign in..
5. You will be redirected to UNM MediaSpace.
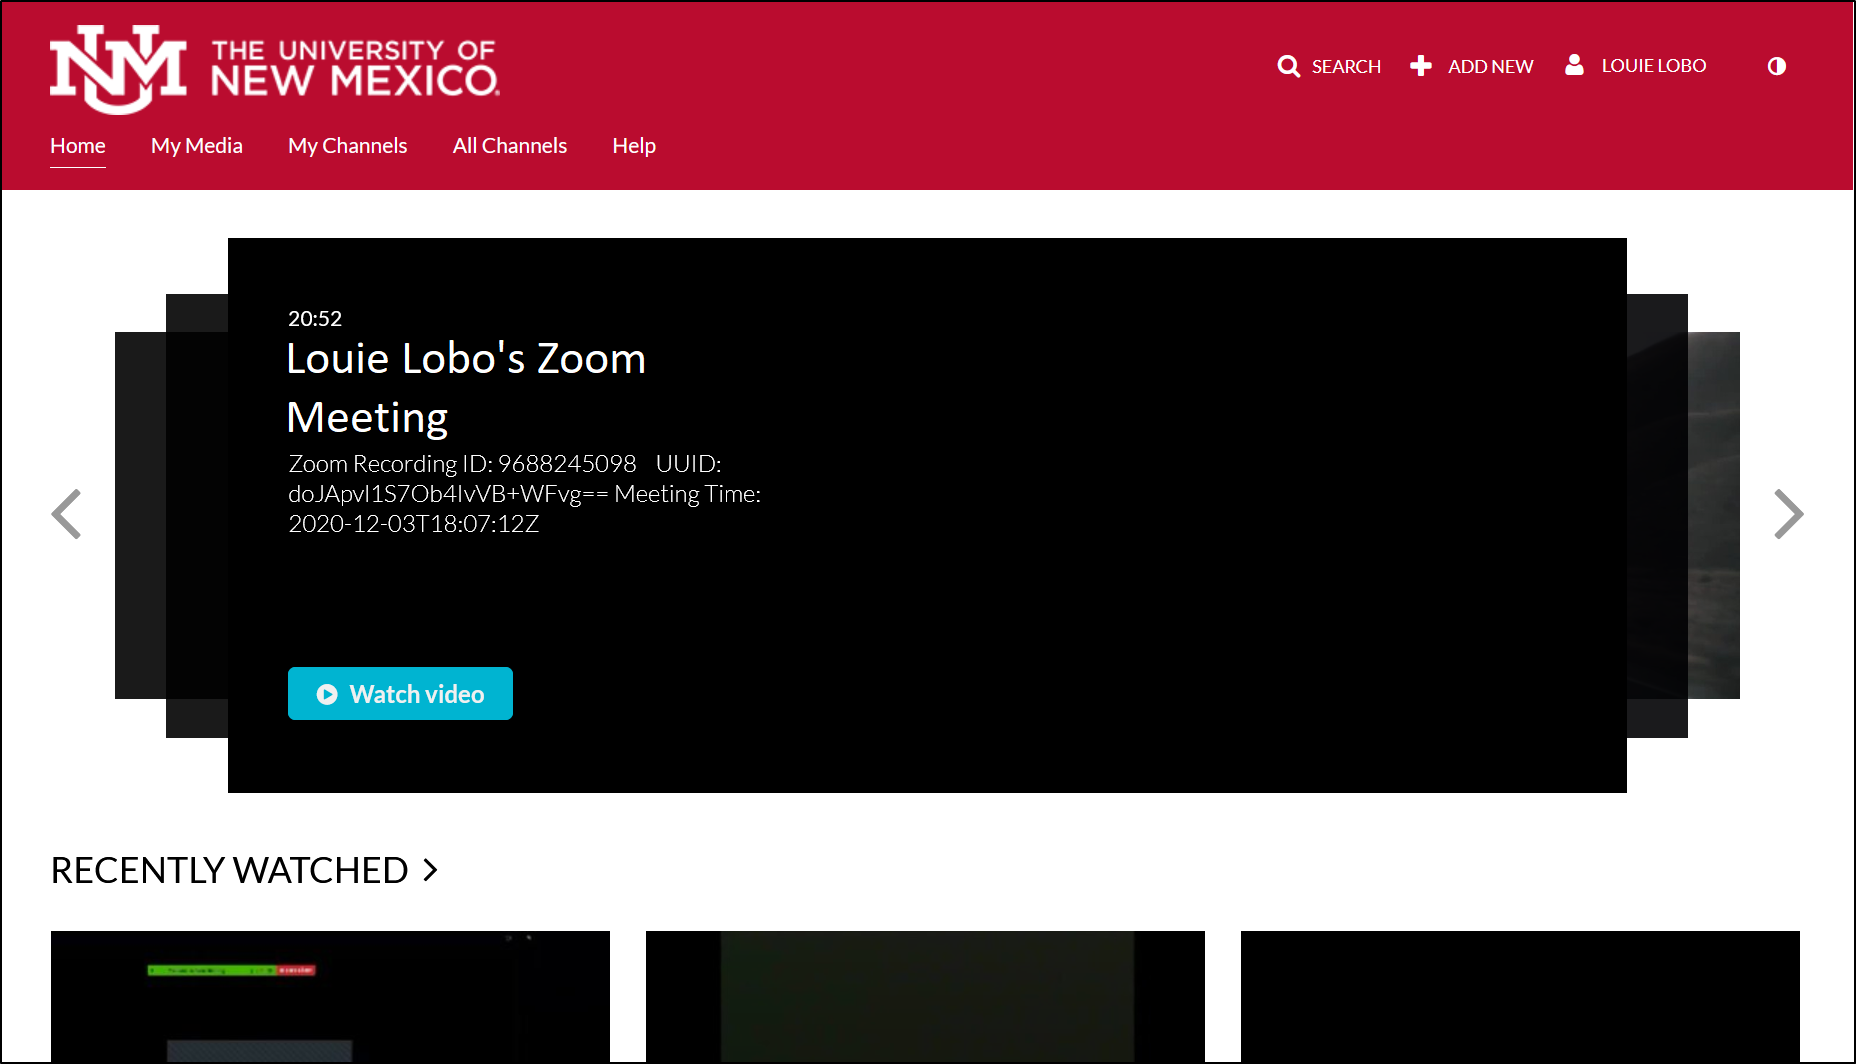
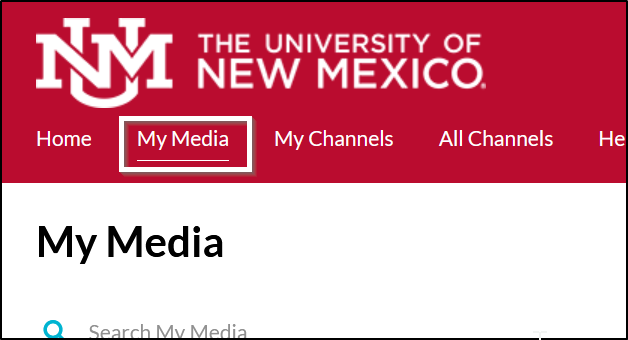
6. In the top navigation of MediaSpace, click My Media.
How to Download a Cloud Recording from Zoom for Later Upload
In the event any of your recordings were not automatically made available in your My Media repository, you can follow these steps to manually upload them:
1. Sign into your Zoom account using the UNM Zoom portal (https://unm.zoom.us/)
2. Click Recordings on the page's left navigation.
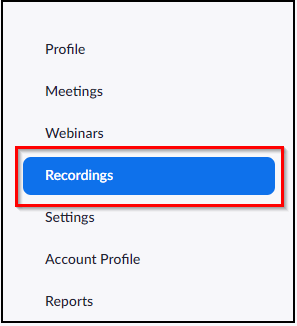
3. In Recordings, make sure you are in the "Cloud Recordings" tab. Find the recording you want to download and click More > Download.
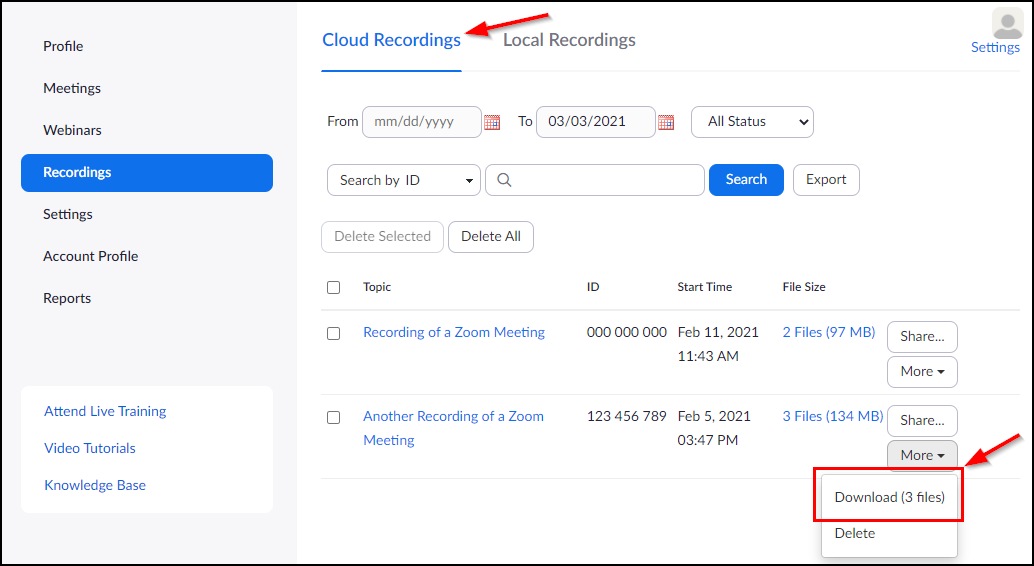
4. All recordings and associated files for your meeting should begin downloading.
![]()
5. If you are ready to upload your recording to MediaSpace, follow the steps for uploading a local file to My Media below.
How to Upload to My Media from MediaSpace
1. Navigate to UNM MediaSpace and login.
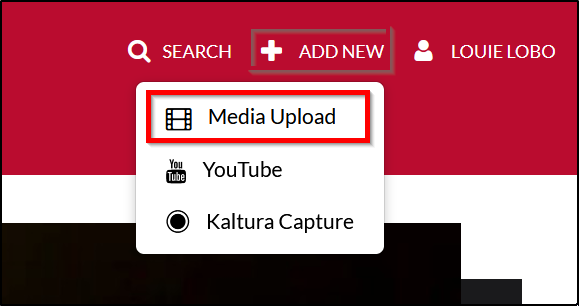
2. In the upper right, click Add New > Media Upload (you may be redirected to sign-in).
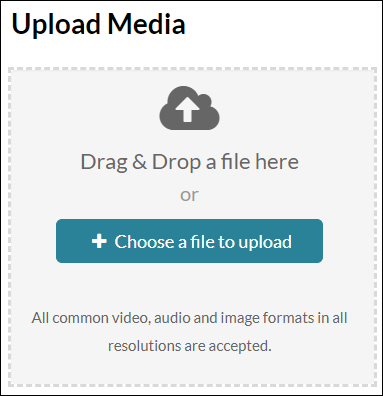
3. The "Upload Media" screen will load. Drag and Drop or click Choose a file to upload.
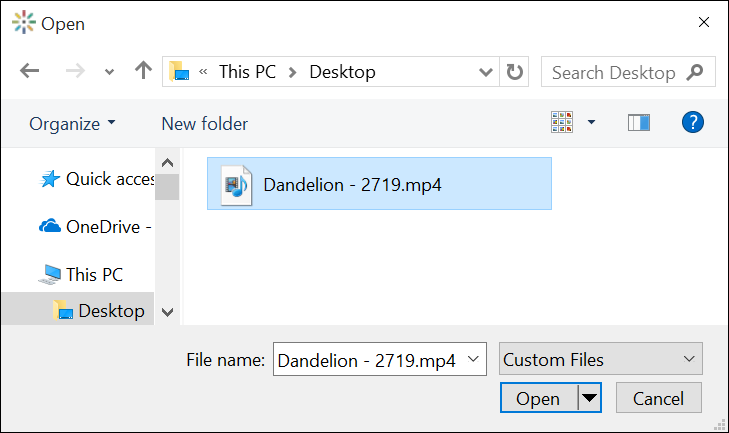
4. Browse your computer for your Zoom recording (typically an mp4) and click Open.
5. When the upload is finished, modify the Name, add Description and Tags (searchable metadata).
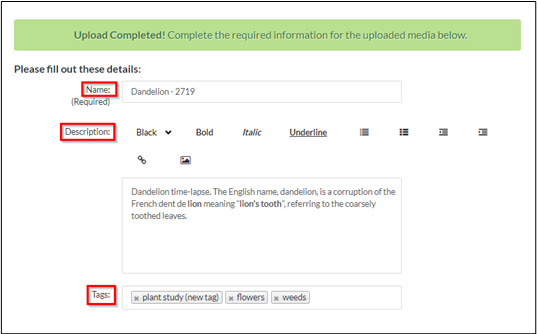
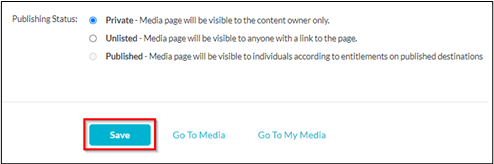
6. Choose one of the following publishing options:
- Private (default): Select this option to keep content only visible to you, the owner.
- Unlisted: Select this option to share the video with others via a link or embed code.
How to Adjust Publishing Status on Existing Zoom Recordings
1. In the top navigation of MediaSpace, click My Media.
2. Select the checkbox next to any recording you would like to adjust the publishing status of. Click Actions > Publish.

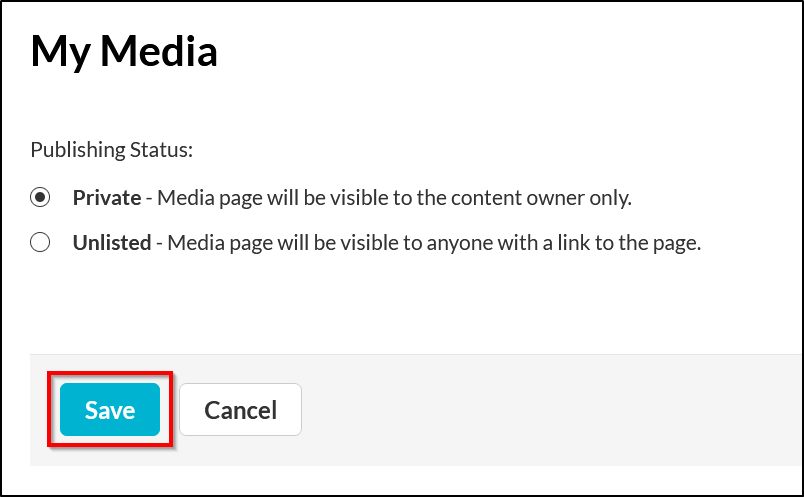
3. Adjust the Publishing Status to one of the following:
- Private: Select this option to make the media visible only to you, the owner.
- Unlisted: Select this option to share the video with others via a link or embed code.
4. Click Save to confirm any changes.
How to Link to or Embed a Zoom Recording on Another Site
Note: In order for a the link to be viewable to others or viewable as embeded content on another webpage, the media entry cannot be published as private. To share your recording, be sure it is published as unlisted. See How to Adjust Publishing Status on Existing Zoom Recordings for more details.
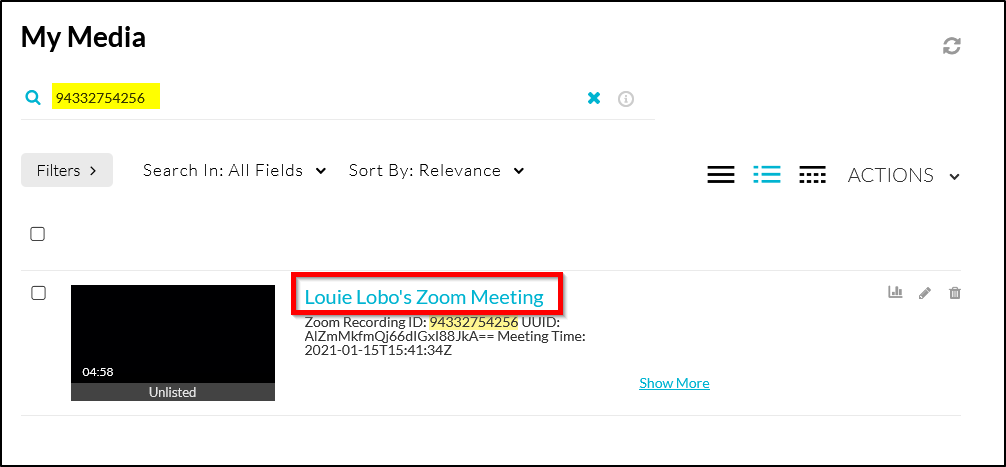
1. In the top navigation of MediaSpace, click My Media.
2. Scroll or search by keyword string (e.g. Zoom Meeting ID, Meeting Topic) to locate the recording you would like to link or embed. Click the title of the entry.
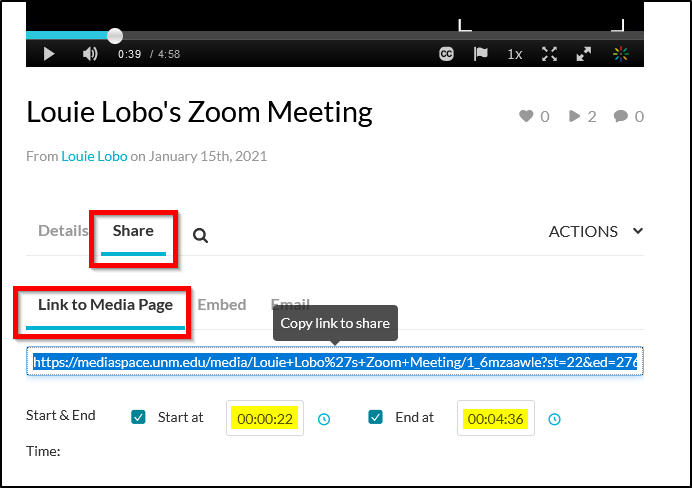
3. Click Share located just below the player.
To share using a direct link,
4. Adjust the Start & End Time as needed. By default, the full recording length will be included.
5. Copy the link in the "Link to Media Page" textbox and paste it where you would like it shared.
or
To add embed code (inline video) to another site,
4. Click the Embed tab.
5. Adjust the Start & End Time as needed. By default, the full recording length will be included.
6. Select a Player Size (this option may not be available for all media types).
7. Copy the embed code.

8. Paste the code into the HTML of a webpage where you would like this recording to appear.
How to Download from MediaSpace
Note: Only the owner or co-editors can download content from MediaSpace. See How to Manage Collaborators to add users with this privilege.
1. In the top navigation of MediaSpace, click My Media.
2. Your My Media repository will load.
3. Click the edit (pencil) icon to the right of the video you wish to download.
4. Click play on the video player.
5. In the upper right-hand corner of the video player, click the download button.
![]()
6. (optional) Click Select quality to expand all available resolution options.
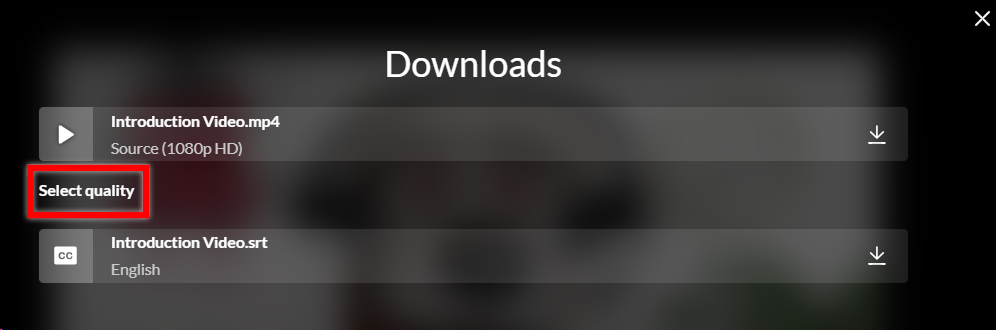
7. Select from one of the available options to start the download.
Note: The download option includes closed captioning files, most commonly in the .SRT format, which will be indicated by the "cc" icon.
How to Edit Captions on a Recording
Fully automatic (machine) captions are created by default for any new media uploaded to your Kaltura My Media repository. Machine captions do not generally meet accessibility requirements, but Kaltura offers tools that let you review and edit/improve your transcript(s).
Note: The captions are created after the video is uploaded and rendered; there is a short delay before they are available.
Kaltura calls the captioning service Reach. Using the built-in tools, you can
- Search and replace text
- Add speaker IDs
- Insert additional caption lines and more...
See: Editing Captions - REACH v2
This video gives a short overview of the caption editor:
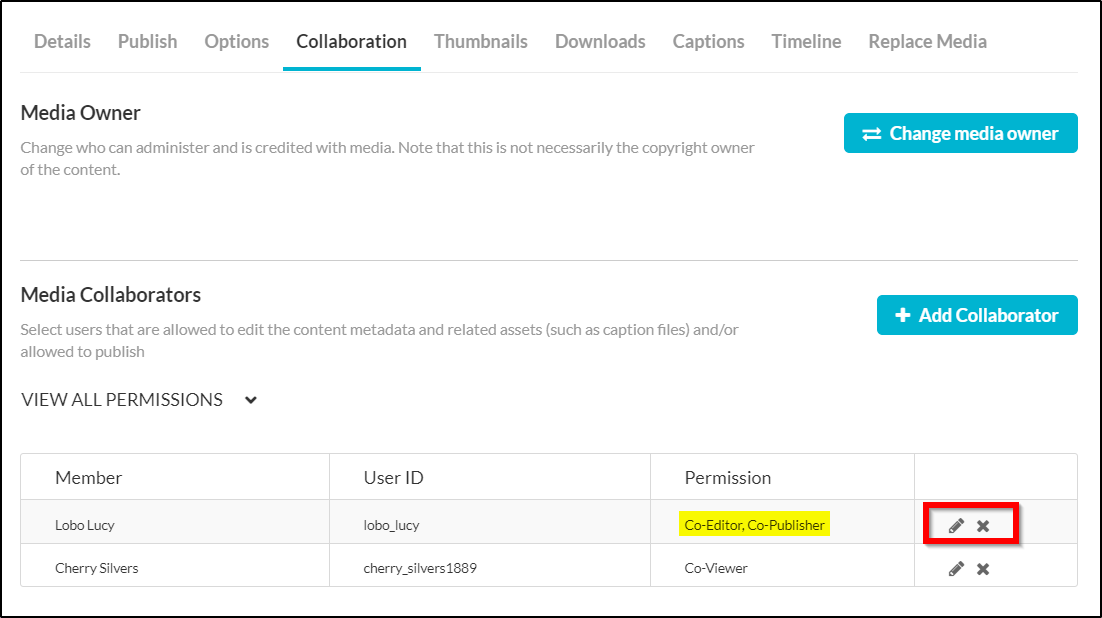
How to Manage Collaborators
Video collaboration with other UNM users inside of MediaSpace is possible using the collaborators tab. There are three roles you can designate for collaborators:
To add a collaborator to one of your videos:
- Navigate to UNM MediaSpace and access My Media.
- In My Media click the edit (pencil) icon to the right of the video.
- Click the Collaboration tab.
- Click Add Collaborator.
- Enter their UNM NetID.
- Choose a role (Co-Editor, Co-Publisher, Co-Viewer)
- Click Add.
The added collaborator can now access, publish, or edit the video from their My Media repository based on the role you have designated.
To remove or modify the role of a collaborator on a video:
- Navigate to UNM MediaSpace and access My Media.
- In My Media click the edit (pencil) icon to the right of the video.
- Click the Collaboration tab.
- Locate the user you would like to remove or modify.
- Remove the user as a collaborator by clicking the ‘x’ and confirming with Delete
- Click the edit icon to make changes to their role and click Update