
Language Interpretation
Users that would like to include interpreters in their meetings or webinars now have the ability to enable Language Interpretation. This allows the host to designate up to 20 participants as interpreters on the web portal or during a Zoom session.
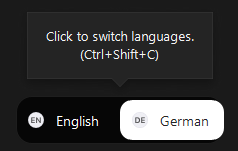
When the meeting or webinar starts, the host can start the interpretation feature which will allow the interpreters to provide their own audio channels for the language they are translating to. Attendees can then select the audio channel to hear the translated audio in their language of choice, as well as the option to mute the original audio instead of hearing it at a lower volume in their chosen language.
Cloud recordings of interpretation sessions will record the original audio of the meeting or webinar, as well as the translations. Local recordings of interpretation sessions will record any audio the person recording can hear, but not multiple audio channels.
Note:
- Language Interpretation cannot be used with Personal Meeting ID (PMI). To enable language interpretation, choose the option Generate Automatically for the Meeting ID.
- This feature must be enabled when scheduling a meeting or webinar, and thus cannot be used for an instant meeting.
- For webinars, whomever you assign to be a language interpreter is also automatically made a panelist.
- When using language interpretation and sharing your screen with computer audio, the shared audio will be broadcast at 100% to all. We recommend avoiding sharing audio in while language interpretation is active to avoid the audio imbalance this may cause.
- To add language interpretation to a recurring meeting or webinar, after clicking Edit, click All to add language interpretation to all occurrences.
Language Interpretation
- Language Interpretation enabled
- Meeting with an automatically generated meeting ID
- Zoom Desktop Client on Windows or macOS, version 5.11.4 or higher
- Zoom Mobile App, version 5.11.4 or higher
- Language interpretation cannot be initiated or managed when using the Zoom mobile app. Participants joining from the Zoom mobile app can only listen to interpretation audio channels and view interpreted text.
- Language interpretation cannot be used in breakout rooms, only the main session of a meeting.
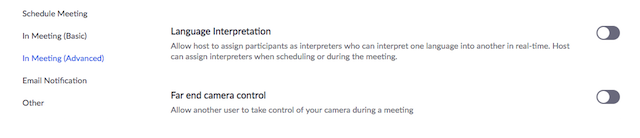
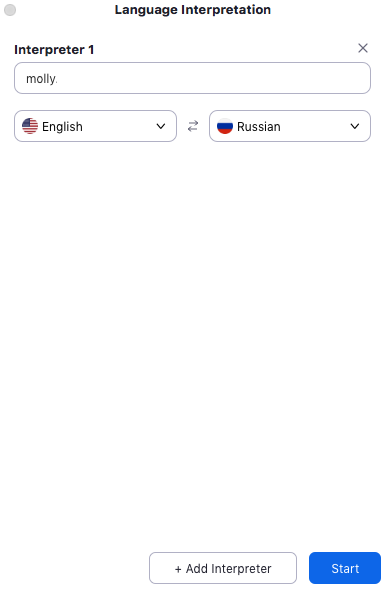
2. Enable Language Interpretation under the In Meeting (Advanced) heading. Settings.
3. Once enabled, the default 9 languages will be displayed.
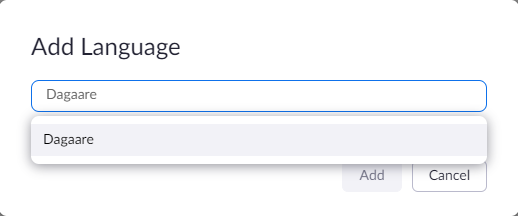
4. Click the plus sign (+) symbol to add more languages.

5. Type the name of the language you are adding.
6. Click the language in the drop-down menu.
7. Click Add
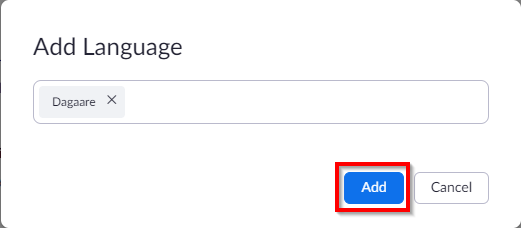
8. Once added, the language will be in your list of languages.

2. Click Generate Automatically next to Meeting ID. This setting is required for language interpretation.
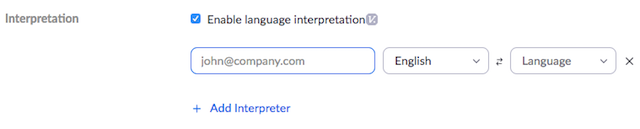
3. Check the box to Enable Language Interpretation for the meeting.
5. Click Save when you are finished.
Note: This process is similar to enabling language interpretation for Webinars. Navigate to Webinars and click Schedule a Webinar, then follow the same steps to enable and assign an interpreter.
2. Once your meeting has started, click Interpretation in the meeting controls.
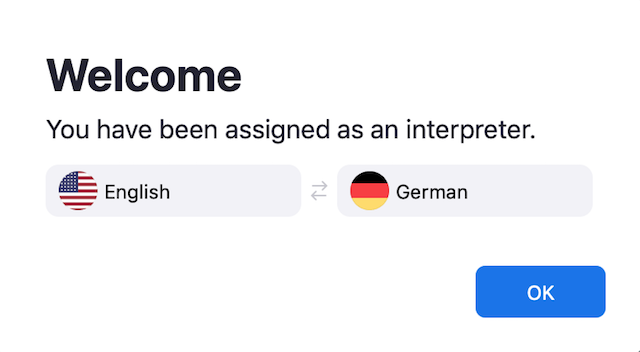
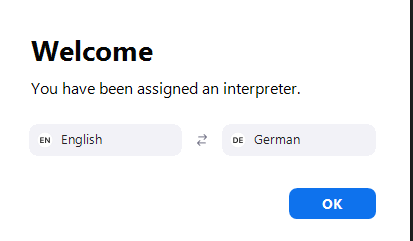
4. After the host clicks Start, the interpreters will receive a message they have been assigned a language.

6. An interpreter in the channel will hear the original meeting audio which they can translate. Participants in a language channel will hear the translated audio and also the original audio at a lower volume.
7. To end the interpretation session(s), the host will need to click Interpretation in the meeting controls.
8. Once the Language Interpretation window opens, the host can click End to stop the sessions.
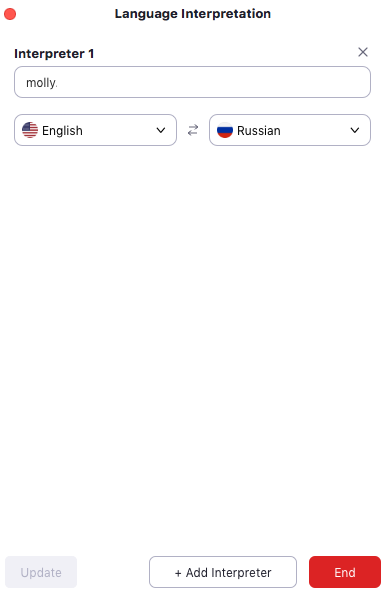
9. The host can also click Manage Language Interpretation to make changes to the interpreter settings during a session.
As a language interpreter, you can only broadcast to one language channel at one time; this eliminates unnecessary language crossover and helps to reduce confusion. You can switch between the native-audio channel of the meeting and the interpretation-audio channel you have been assigned to.
Once a meeting host assigns you as a language interpreter, a window will pop up notifying you which language you are responsible for:
2. Join a meeting that you have been assigned as an interpreter by the host.
3. Click OK to accept the language you have been assigned to interpret to.
4. To switch between audio channels during the meeting:
5. Click the language of the audio channel you want to broadcast to.
Speak in the language of the audio channel you are broadcasting to.
2. Click the language that you would like to hear.
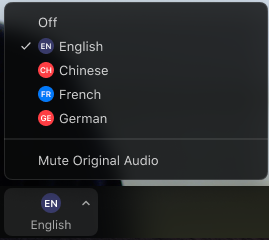
(Optional) To hear the interpreted language only, click Mute Original Audio.
